Running a Control Program
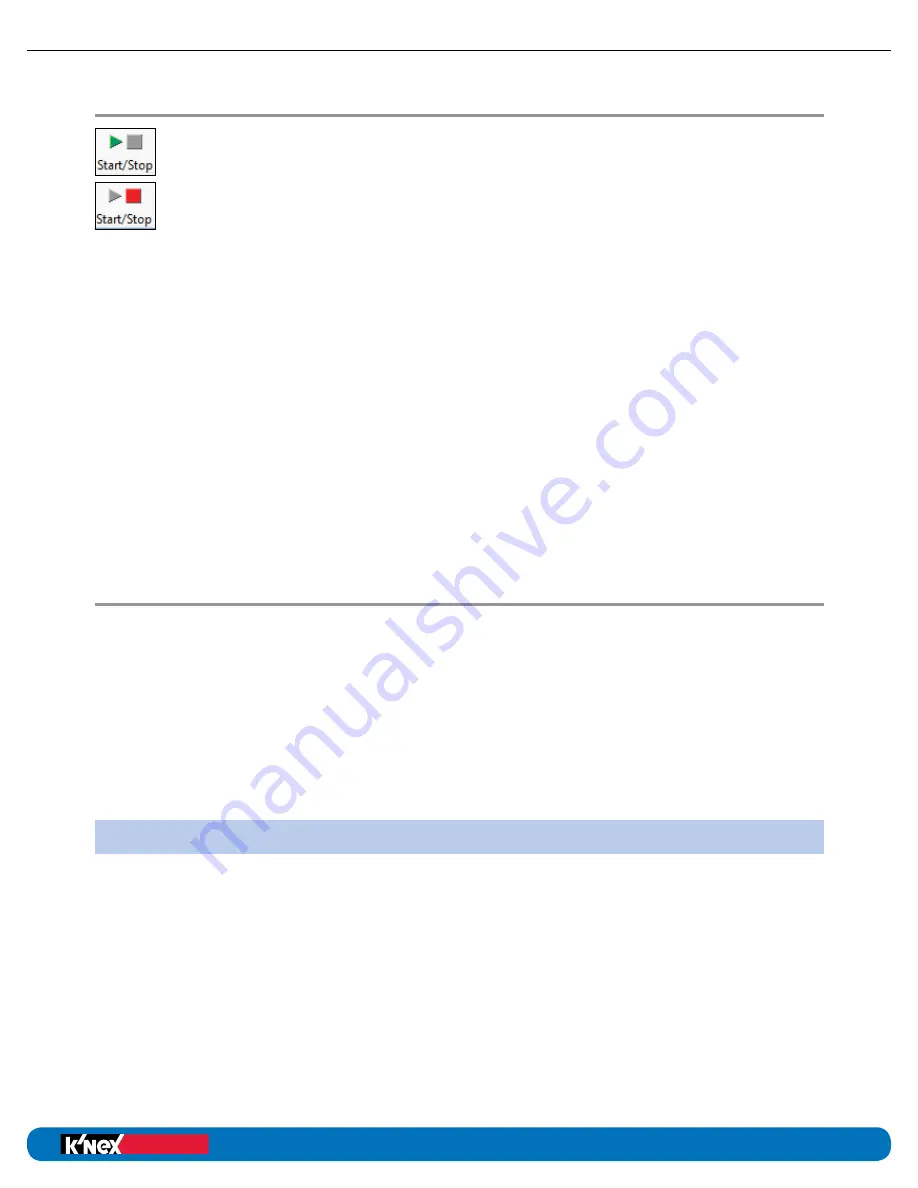
Once a control program has been written, it can be run by clicking on the
Start/Stop icon.
To stop the program before it reaches the end, click on the Start/Stop icon.
This will stop all parts of the program instantly.
• If the program contains multiple flowcharts (that begin with the Start: command),
all will begin simultaneously.
• When a control program is run, the symbols will highlight as they become active.
The progress of the complete program can be viewed by clicking on the map tab
in the information panel.
• Click on a flowchart or procedure in the map tab for it to be selected to the edit area.
• If Follow Flowchart (Debug menu) is checked then the progress of whichever flowchart
is currently selected to the edit area will be followed in detail through all procedures.
• To run only the procedure or flowchart that is in the edit area, select Run: Procedure: xx
or Start: xx (Debug menu).
• To restrict exactly which flowcharts (those that begin with the Start: command) will run;
select Start Settings (Debug menu).
To Check and Debug
a Control Program
If there is an error in the program, it can be difficult to locate exactly where it occurs
because the program is running so quickly. K’NEX Robotics software includes powerful
debug features that allows you to restrict which parts of a program runs and slow down
or stop the program at specific points so the problem can be easily located.
It is easiest to Check and Debug a control program with the Control Box with the required
inputs and outputs connected to the computer. Doing so allows live feedback from the
motors and sensors.
However, the K’NEX Robotics Software includes a “Sensor Emulation” mode that allows you
to test a control program with no Control Box connected.
Sensor Emulation
When a K’NEX Robotics Interface is not connected to the software, sensor values and inputs
can be emulated to allow a program to be tested. To do this, click on the sensor/motor/LED
icon from the I/O panel and set the desired state for the sensor in the pop up window.
The selected value will be returned to the program.
For example:
If the program is set to look for a distance of less than 200mm instead of having
to ensure that the sensor is actually returning this value, it can be set in emulation mode to
return 180mm constantly.
If a program is running, the set value can be altered manually by changing the value in the
I/O details panel for the sensor. Depending on your program you may need to change
sensors values several times.
Education
®
Building Programs
education.com
Education
®
Building Programs
50
K’NEX Robotics User’s Guide
SOFTWARE


