Quick start
Follow the instructions below to start using your version of Iono Arduino.
Iono Arduino Ethernet
Iono Ethernet ships with our web app sketch pre-installed and the following network
configuration:
✓
Address: 192.168.0.100
✓
Netmask: 255.255.255.0
✓
Gateway: 192.168.0.1
✓
DNS: 192.168.0.1
1. connect Iono Arduino to a regulated power source (check the data sheet for the power
requirements)
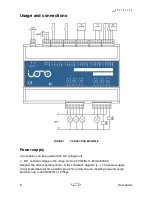
2. check that the LD1 power LED, next to the power supply terminals, is on
3. connect Iono Arduino to your network and, from a device with a compatible network
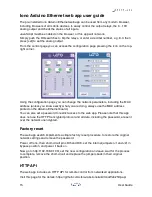
address, go to the following URL using any modern web browser: http://192.168.0.100.
Note that JavaScript must be enabled on the browser
4. click the settings icon and enter your preferred network parameters and password,
then press save
5. you should now be able to access Iono Arduino again using the newly assigned
address.
Iono Arduino Uno
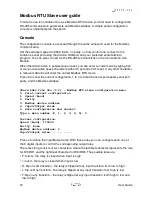
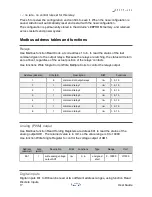
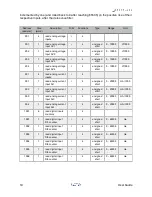
Iono Arduino Uno ships with the Modbus RTU Slave sketch pre-installed. This sketch
implements a fully functional standard Modbus RTU slave to monitor and control all I/O
lines of the Iono Arduino Uno module, and is also compatible with Arduino Zero.
1. connect Iono Arduino to a regulated power source (check the data sheet for the power
requirements)
2. check that the LD1 power LED, next to the power supply terminals, is on
3. read the Modbus RTU Slave chapter below to configure and use Iono Arduino Uno as a
Modbus RTU device.
Iono Arduino Solo
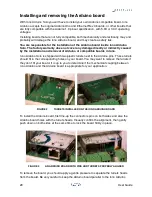
Iono Arduino Solo doesn’t ship with a pre-installed sketch, for the simple reason that there
is no Arduino module installed!
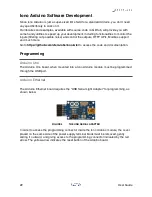
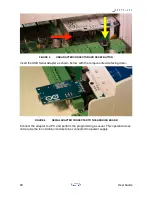
Before installing your own Arduino board, you should check that it powers-up normally.
1. connect Iono Arduino to a regulated power source (check the data sheet for the power
requirements)
2. gently remove the side covers on both sides
3. check that the LD1 power LED, next to the power supply terminals, is on
13
User Guide

