Atmel AVR2052
51
8200M-AVR-11/11
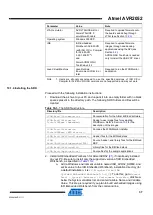
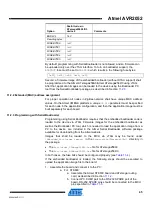
b. Add a Windows environment variable named
IAR_ARM_HOME, and set its value to the IAR Embedded
Workbench installation directory (for a default installation, it is
C:\Program Files\IAR Systems\Embedded Workbench
6.20
). To do this, go to
Control Panel > System >
Advanced > Environment Variables
, click New below the
System variables list, and enter Variable Name and Variable
Value. This step is required if you plan to build embedded
images using IAR Embedded Workbench from the command
line.
, if not already installed on your PC.
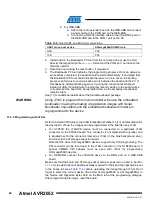
4. To install the USB-to-serial converter driver, attach the Atmel AT91SAM7X-EK
device to your PC and wait for Windows’ request for a specific driver for the
device. If the device already has an assigned driver, or if Windows assigns driver
to it automatically, go to Start/Control Panel/System/Hardware/Device Manager,
double-click the device, and select “Update Driver….” In any case, choose the
“Install from a list or specific location” option and point to the 6119.inf file provided
with this SDK. Please refer to Section 4.9.1 of
troubleshooting options.
•
Download and install Java Runtime Environment
, if not already installed on
your PC.
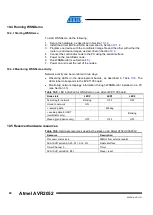
12.2 Programming the boards
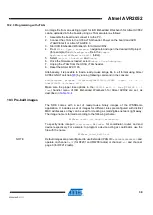
A firmware image file can be uploaded into AT91SAM7X-EK device using the JTAG
interface. Programming device using the serial bootloader is not supported.
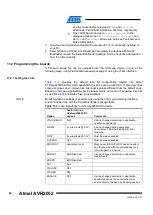
12.2.1 Extended (MAC) address assignment
For proper operation, all nodes in a ZigBee network shall have unique MAC address
values. On the SAM7X platform, a unique
CS_UID
parameter must be specified for
each device in the application configuration, and then the application image must be
built separately for each board.
12.2.2 Programming with JTAG
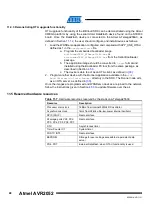
Atmel AT91SAM-ICE JTAG emulator and SAM Boot Assistant
AT91-ISP package) shall be used for programming.
Connect the AT91SAM7X-EK board via the SAM-ICE JTAG emulator to a PC. After
that, run Atmel SAM-BA
®
on the PC and choose \jlink\ARMX as the connection type
and AT91SAM7X-EK as the target board. In the opened window select the flash
memory tab and in the “Send File Name” field, provide the path to the application
firmware image in
.bin
format. Keep the default memory settings and press the
“Send file” button. After programming the image, reset the AT91SAM7X-EK board.
For details about SAM-BA configuration and usage, please refer to SAM-BA User
NOTE
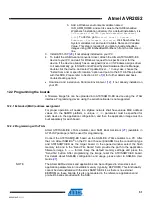
The Atmel BitCloud stack and applications can be configured to store stack and
application parameters in nonvolatile memory (typically, EEPROM). This functionality
cannot be demonstrated with the stock SAM7X-EK kit, as there is no external
EEPROM on these boards. It is also not enabled in the reference applications and
pre-built binaries provided with the SDK.

