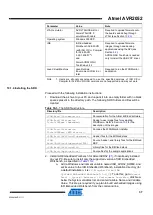
Atmel AVR2052
39
8200M-AVR-11/11
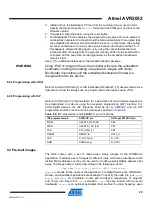
10.2.3 Programming with JTAG
An image file from an existing project for IAR Embedded Workbench for Atmel AVR32
can be uploaded into the boards using a JTAG emulator as follows:
1. Assemble the board and connect it to the PC.
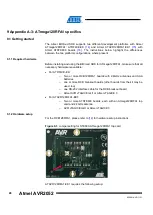
2. Connect the JTAG to the UC3A JTAG header. Power on the board and AVR
JTAGICE mkII or Atmel JTAGICE 3.
3. Start IAR Embedded Workbench for Atmel AVR32.
4. From
File > Open > Workspace
,
navigate to and open the desired IAR project
(for example, the
WSNDemoApp.eww
file in the
Sample
Applications\WSNDemo\iar\avr32
folder).
5. Select
Project > Download
and
Debug
.
6. Once the firmware is loaded, select
Debug > Stop Debugging.
7. Unplug the JTAG from the UC3A JTAG header.
8. Reset the Atmel EVK1105.
Alternatively, it is possible to load a ready-to-use image file in .elf format using Atmel
by running following command in the console:
avr32program program -finternal@0x80000000,256Kb -cxtal -e -v -
O0x80000000 <filename.elf>
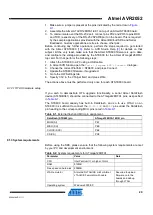
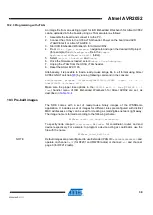
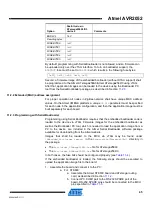
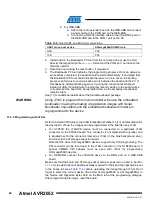
Make sure the proper fuse options in the
JTAGICE mkII -> Fuse
(
JTAGICE 3 ->
Fuse
) handler menu of IAR Embedded Workbench for Atmel AVR32 are set, as
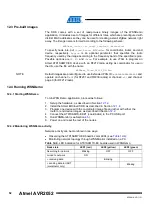
10.3 Pre-built images
The SDK comes with a set of ready-to-use binary images of the WSNDemo
application. It includes a set of images for different roles preconfigured with distinct
MAC addresses so they can be used for creating a small ZigBee network right away.
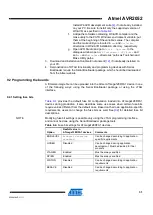
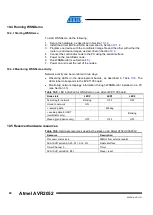
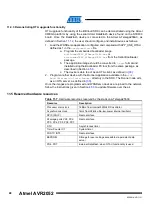
The image name is formed according to the following scheme:
WSNDemo_<role>_<rf_chip>.<extension>
To specify node role put
Coord
,
Router
, or
EndDev
for coordinator, router, and end
device respectively. For example, to program a device acting as coordinator, use the
file with the name
WSNDemo_Coord_Rf231.elf
NOTE
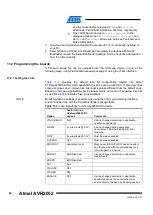
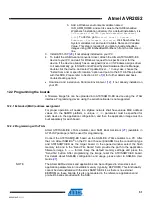
Default images are preconfigured to use Extended PAN ID
0xAAAAAAAAAAAAAAAA
and
operate on channel
0x0F
(for RF231 and RF230 radios) or channel
0x01
and channel
page 0 (for RF212 radio).

