Appendix B: Upgrade/Downgrade Procedures
Installation Option 1: Using the DVD
80
|
Getting Started with Spirent TestCenter
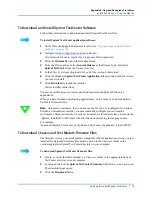
To Copy Files using the Command Line
Follow these instructions to use commands to copy and install Spirent TestCenter files on
your workstation.
To install Spirent TestCenter Automation:
1
Open a terminal window.
2
Navigate to your DVD drive.
On some workstations this will be identified as
Media
.
3
Navigate to the
Spirent TestCenter Applications
folder for your operating system.
These folders contain two shell-based installers and a documentation tarball required
to complete your installation.
4
Copy the installer appropriated for your system and the documentation tarball to your
workstation. For example:
cp install_Spirent_TestCenter_Auto_Linux64_[x.xx].sh /home/
user/
5
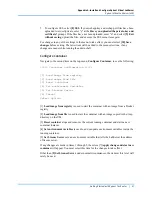
Run the shell-based installer. For example, use the following for a 64-bit OS:
./install_Spirent_TestCenter_Auto_Linux64_[x.xx].sh
6
Use tar to extract the documentation from the tarball. For example, use the following
commands for a Linux file:
tar -xzvf Spirent_TestCenter_Docs_Linux_Unix[x.xx].tar.gz
7
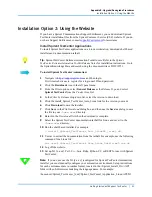
Set up Tcl [x.x.xx], Perl, C
++
, Java, Ruby, Python, C#, or REST for use with Spirent
TestCenter.
Note:
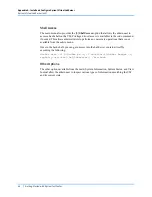
Automation customers: If you do not use the Tcl [x.x.xx] (configured for
Spirent TestCenter Automation) installer, you must manually configure your
automation environment. Setup instructions for each environment are in readme
format, located in the <Spirent_Install_Dir>/API folder with sub-directories matching
the language name.
For example:
/home/user/Spirent_TestCenter_[x.xx]/Spirent_TestCenter_Application_Linux/API/
Tcl


