3
Chapter3 Installation
95
IPSec VPN and Firewall Policy
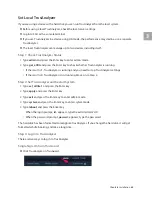
Select IP address profile from the firewall policy that will use IPSec VPN.
Source Address: Profile defining the local subnet
Destination Address: Profile defining the remote subnet
Note
In TrusGuard 2.1 p1, the firewall policy gets created automatically if you use the
Add IPSec VPN Policy
while setting the
IPSec VPN Network
.
Policy Setting
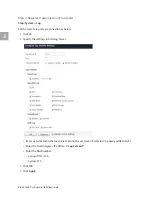
Step 1: Register IP Address to Protect/Block
In Profile > IP Address
, register the IP addresses of all the network hosts.
Enter the interface information to use to define the IP address profile and communicate with the
specified IP address.
Even if the IP address is the same, it will be considered a completely different profile if the network
interface information is different.
Try not to use profile with network port that is “
all
”.
Rather than using “all” (0.0.0.0/0@all, ::/0@all) which means all network addresses, it is safer to set
“all” profile with different network interface (e.g.: 0.0.0.0/0@eth0 connected to eth0).
When registering IPSec VPN remote subnetwork address as an IP address profile, use the local VPN
gateway interface name used by TrusGuard to communicate with the remote VPN gateway.
An IP profile cannot directly refer to a bridge interface. Register the IP address profile to the bridge
interface.
Step 2: Register Service to Protect/Block
In Profile > Service
, register all the network hosts’ services.
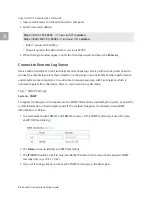
Step 3: Register User or Connect to Authentication Server
Use TrusGuard as authentication server
1
Go to
Profile > User > User Account
, to register the user account.
2
Go to
Profile > User > User Group
, to register the user group.
•
Group users according to roles.
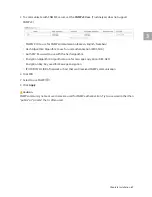
To register a user account that uses a certificate, the following requirements must be met.
•
Connect to external private/public CA server
▪
Register CA certificate of external CA server:
VPN > Certificate > CA Certificate

