Cisco HWIC-4ESW and HWIC-D-9ESW EtherSwitch Interface Cards
How to Configure EtherSwitch HWICs
15
Book Title
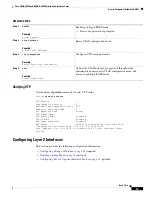
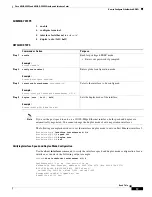
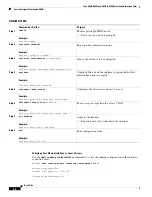
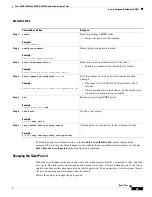
DETAILED STEPS
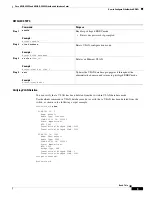
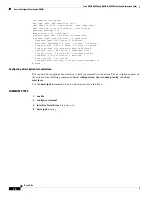
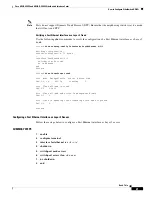
Verifying Configuration of an Interface Range Macro
Use the
show running
-
configuration
command to show the defined interface-range macro
configuration, as shown below:
Router#
show running-configuration
| include define
define interface-range first_three FastEthernet0/1/0 - 2
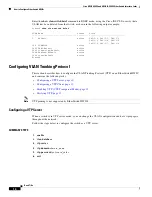
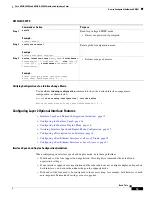
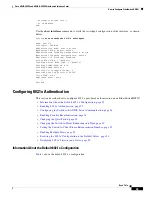
Configuring Layer 2 Optional Interface Features
•
Interface Speed and Duplex Configuration Guidelines, page 15
•
Configuring the Interface Speed, page 16
•
Configuring the Interface Duplex Mode, page 16
•
Verifying Interface Speed and Duplex Mode Configuration, page 17
•
Configuring a Description for an Interface, page 18
•
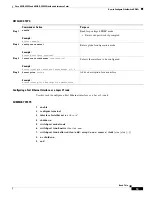
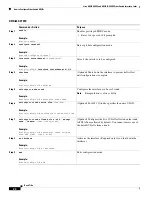
Configuring a Fast Ethernet Interface as a Layer 2 Trunk, page 19
•
Configuring a Fast Ethernet Interface as Layer 2 Access, page 21
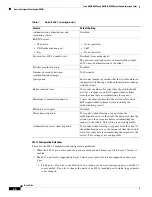
Interface Speed and Duplex Configuration Guidelines
When configuring an interface speed and duplex mode, note these guidelines:
•
If both ends of the line support autonegotiation, Cisco highly recommends the default auto
negotiation settings.
•
If one interface supports auto negotiation and the other end does not, configure duplex and speed on
both interfaces; do not use the
auto
setting on the supported side.
•
Both ends of the line need to be configured to the same setting; for example, both hard-set or both
auto-negotiate. Mismatched settings are not supported.
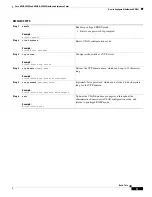
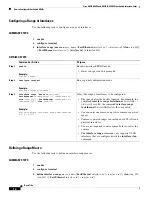
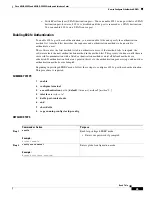
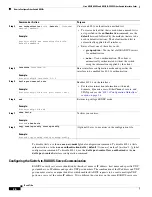
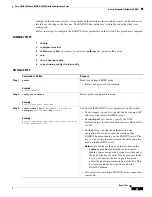
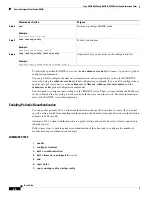
Command or Action
Purpose
Step 1
enable
Example:
Router> enable
Enables privileged EXEC mode.
•
Enter your password if prompted.
Step 2
configure
terminal
Example:
Router# configure terminal
Enters global configuration mode.
Step 3
define interface-range
macro_name
{
FastEthernet
interface-id
[
-
interface-id
] | {
vlan
vlan_ID
-
vlan-ID
} | [
,
FastEthernet
interface-id
[ -
interface-id
]
Example:
Router(config)# define interface-range
first_three FastEthernet0/1/0 - 2
•
Defines a range of macros.

