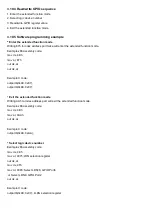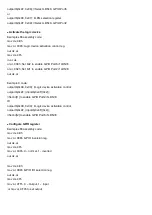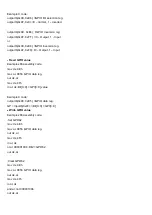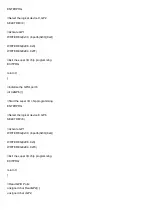
Example C code:
//Set GPO62
outportb(0x4E, 0xE5); //GPIO data reg.
Outportb(0x4F, (inportb(0x4F)|0x4)); //Set Bit[2]
//Clear GPO62
outportb(0x4E, 0xE5); //GPIO data reg.
Outportb(0x4F, (inportb(0x4F)&0xFB)); //Clear Bit[2]
The followings are C language source code:
#include "stdio.h"
#include "conio.h"
//Super I/O index access port
#define INDEXP 0x4E
#define DATAP 0x4F
//Enter super I/O programming mode
#define ENTERPRG { \
outportb(INDEXP, 0x87); \
outportb(INDEXP, 0x87);}
//Super I/O index write
#define WRITEREG(reg,val) { \
outportb(INDEXP, reg); \
outportb(DATAP, val);}
//Exit super I/O programming mode
#define EXITPRG { \
outportb(INDEXP, 0xAA);}
//Select logic device number
#define SELETDEV(ldn) { \
outportb(INDEXP, 7); \
outportb(DATAP, ldn); }
//Initialize the GPIO port2
int InitGP2() {
//Start the super I/O chip programming
Summary of Contents for PCH3582
Page 8: ...1 2 Dimensions Figure 1 1 Dimensions of PCH3582...
Page 9: ...Figure 1 2 Dimensions of PCH3782...
Page 10: ...Figure 1 3 Dimensions of PCH3982...
Page 33: ...1 4...
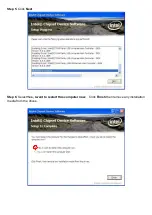
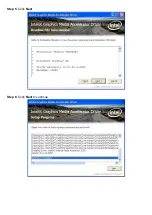
Page 64: ...Step 5 Click Next Step 6 Click Next to continue...
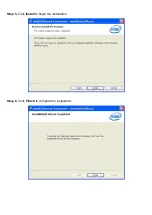
Page 68: ...Step 5 Click Install to begin the installation Step 6 Click Finish to compete the installation...
Page 70: ...Step 3 Click Yes to continue the installation Step 4 Wait for installation...
Page 71: ...Step 5 Select Yes I want to restart my computer now then click OK...
Page 75: ...Step 6 Wait for installation Then click Next to continue Step 7 Click OK...
Page 76: ...Step 8 Click Finish to compete installation...
Page 81: ...Setting...
Page 82: ...About This panel displays information about the PenMount controller and driver version...

