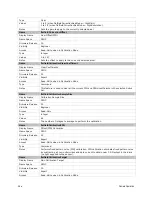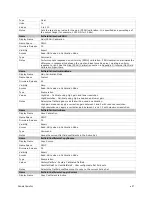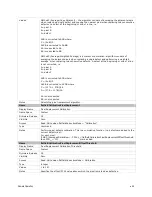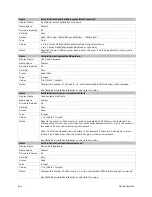
Camera Operation
•
69
If the camera is run at exposure time that is significantly higher than the calibration
exposure, an additional Pixel Replacement Calibration may be require
The gain (PRNU) calibration is performed next to determine the multiplication factors
required to bring each pixel to the required value (target) for flat, white output. For the
monochrome cameras, the target is determined by the user (See
flatfieldCalibrationTarget).
The color camera requires a separate target for each color which is calculated as 23 %
higher than the average pixel for the given color.
It is important to do the FPN correction first. Results of the FPN correction are used in the
PRNU procedure.
Let’s work through a flat field calibration example:
1.
The camera is placed in
internal exposure and frame rate
. Make sure that the
area of interest (AOI) is set to the full window (i.e. Width=SensorWidth and
Height=SensorHeight)
.
No other exposure mode or AOI configuration will allow FFC
calibration. See
ExposureMode
,
TriggerMode
,
OffsetX
,
OffsetY
,
Width
,
Height
.
2.
Settings such as frame rate, exposure time, etc. are set as close as possible to the
actual operating conditions. Set
system gain to 1
and
background subtract to 0
,
as these are the defaults during FFC calibration. See
GainSelector, Gain,
BlackLevelSelector,
and
BlackLevel
.
3.
Select
correction active set to user flat field 1
. Go to
flat field correction
mode,
select
calibration
. See
flatfieldCorrectionCurrentActiveSet
, and
flatfieldCorrectionMode.
4.
Clear existing coefficients. See flatfieldCalibrationClearCoefficient.
5.
Place the camera in the dark (i.e. cover lens) and run
FPN calibration
. This
performs the FPN correction and saves the FPN coefficients to temporary memory.
See
flatfieldCalibrationFPN.
6.
Calibration mode enables both FPN and PRNU correction. Verify signal output is close
to 0 DN.
7.
Illuminate the sensor to 65 % saturation, using a high quality white reference.
8.
Set
flat field target
to 80 % saturation (monochrome only). See
flatfieldCalibrationTarget.
9.
Select Gain Calibration Mode as either High Gain or High Resolution
10.
Run
Gain (PRNU) calibration
. See
flatfieldCalibrationPRNU.
11.
[Optional] Set the exposure time to {X % longer than} the longest value that will be
required by the user’s system. Set the pixel replacement calibration threshold to 60.
Run pixel replacement calibration. See “
Hot Pixels and Long Exposure Times
” for
more information about why this is necessary. See
ExposureTime,
flatfieldCalibrationPixelReplacementThreshold and,
flatfieldCalibrationPixelReplacement
12.
Save
the flat field calibration:
flatfieldCalibrationSave.
Here is the factory calibration procedure for the 8M camera:
1.
The camera is placed in full internal, 8 taps, 10 bits, active window (3328 x 2816,
only available to factory), system gain 1, color gain 1, background subtract 0, global
FPN calibrated such that dark FPN is 30 DN (10 bit) 50 fps, 1500 µs exposure. For
color, use 20 fps, 25000 µs exposure. This last part is important (mono: 50 fps,
1500 µs exposure. Color: 20fps 25000 µs exposure) and ensures that the camera is
in non-concurrent mode. In non-concurrent mode, readout and integration do not
overlap thus eliminating some residual artefacts.


