Tutorial: Creating a layout with Flex Builder
29
4.
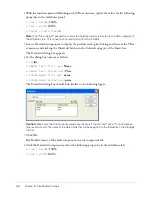
Set the following property in the Attributes panel of the Tag inspector (Window > Tag
Inspector):
■
Styles > verticalGap:
0
Note:
The angle bracket means the
verticalGap
property is located in the Styles category of the
Attributes tab. This convention is used throughout the tutorials.
5.
Save the file in the fbLayout folder by selecting File > Save, double-clicking the fbLayout folder,
and naming the file as follows:
flexstore.mxml
Import your CSS styles
In this part of the tutorial, you import CSS styles into the flexstore.mxml file. You want to import
styles defined in an external CSS file to make sure your site has a consistent look and feel. CSS
styles also give you more flexibility when you want to change the design of your site.
1.
Make sure the flexstore.mxml file is open in Flex Builder.
2.
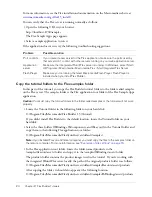
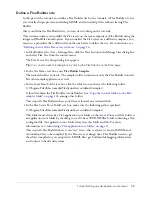
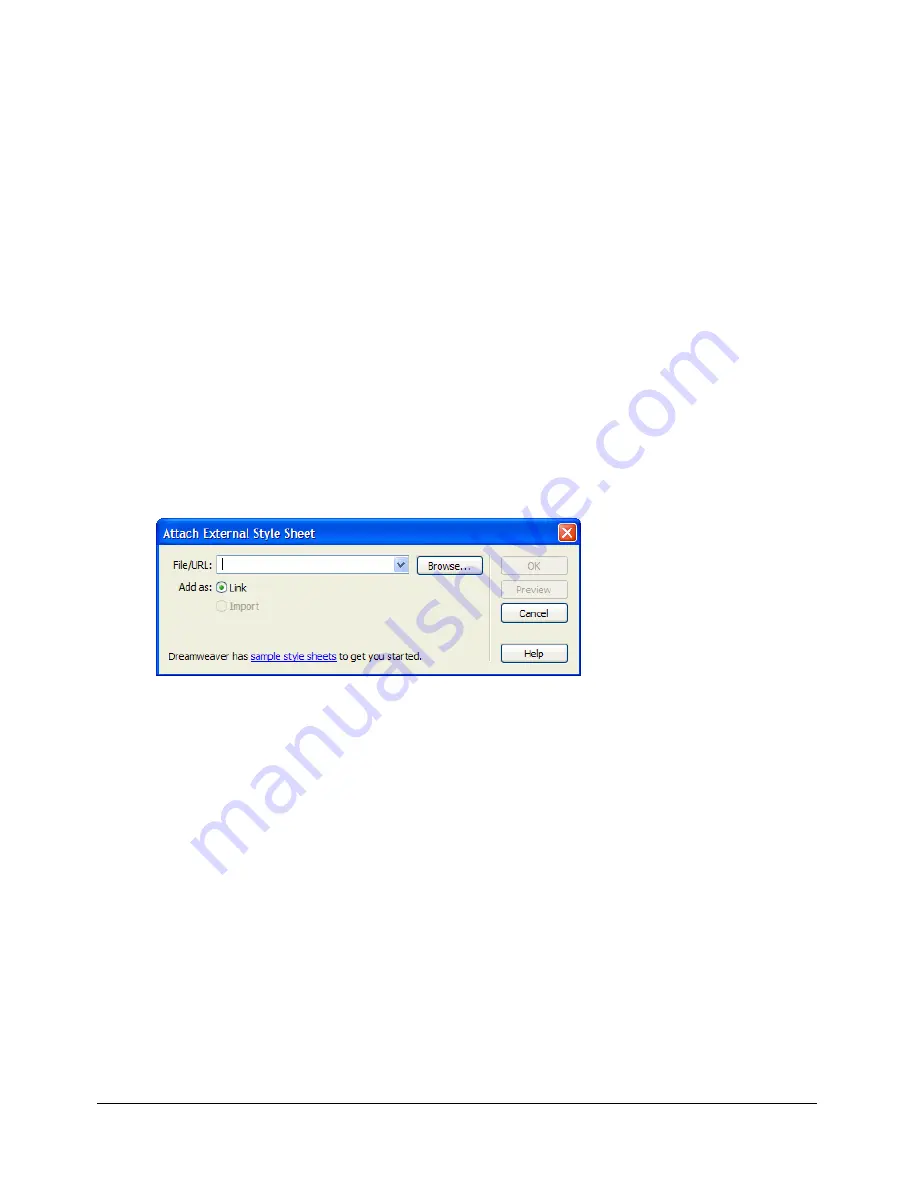
Open the CSS Styles panel (Window > CSS Styles) and click the Attach Style Sheet button at
the lower edge of the panel.
The Attach External Style Sheet dialog box appears.
3.
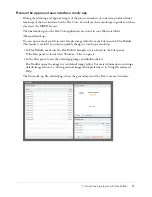
In the Attach External Style Sheet dialog box, click Browse to select the external CSS style sheet
called flexstore.css located in the fbLayout folder.
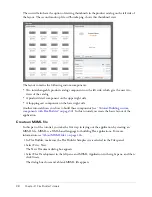
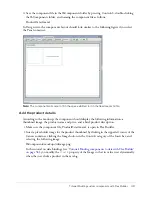
After you click OK twice to close the dialog boxes, the name of the external CSS style sheet
appears in the CSS Styles panel. You can click the Plus (+) icon to display a tree view of all the
styles in the style sheet and their properties.
4.
Save your work.
Summary of Contents for FLEX BUILDER-USING FLEX BUILDER
Page 1: ...Using Flex Builder...
Page 116: ...116 Chapter 4 Building a Flex User Interface Visually...
Page 144: ...144 Chapter 6 Working with Data...
Page 154: ...154 Appendix A Basic Flex Concepts...


