6: L
og
ic F
lo
w
s •
38
© 2017 Telos Alliance - Rev 1.2
Combiners and the second flow
Translation points are one to one only. In other words, we are translating one value from a property to another value
on another property. Combiners on the other hand, allow us to pass values to multiple endpoints and to make logical
decisions based on more than one start point. In order to add a combiner, select a translator in an existing flow by
clicking on the translation box in the flow. Once selected the combiner tool in the tool bar will become enabled.
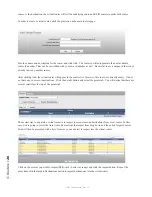
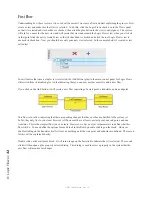
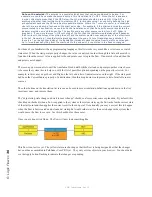
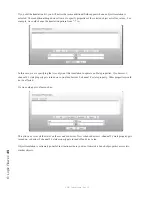
Clicking the combiner will insert a combiner into the flow. If you do this on the flow we just created in the example
above, it will look like:
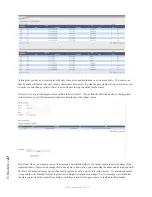
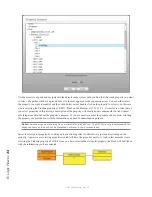
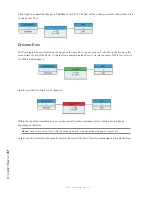
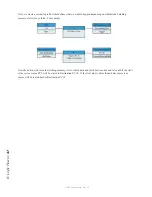
You can change the combiner type by double-clicking on it. This will rotate through a number of different combiner
types. However, each combiner has a maximum and minimum number of inputs that are required to use them.
Only combiners that fit the number of inputs entering the combiner will be available. If you double click on the
NOT combiner you will notice that it switches from NOT to PassThru and back to NOT. That is because the only
combiners that are available with a single input are NOT and PassThru. If you click on the Combiner to select it,
you will notice that both the left and right translator tools become available. Clicking on either of these will either
add a translator to the input side of the combiner or the output side of the combiner. If you add a second input, you
will notice that the combiner will now rotate through more types because there are many more logical types that
work with two inputs.
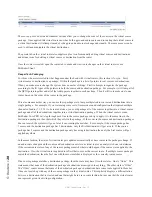
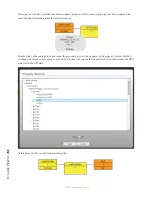
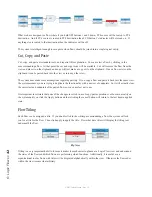
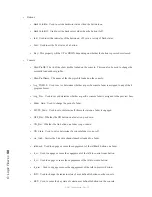
In this case, since the combiner is a logic gate, the translation types are automatically switched to True/False
entering and exiting the combiner. By assigning a second GPI pin to the second start point, we can change this
event so that two buttons must be held simultaneously in order for the end point change to happen. Edit the various
translation lists as described above, and then when complete click apply and you should end up with something like:
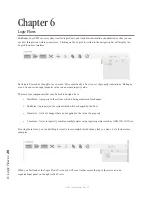
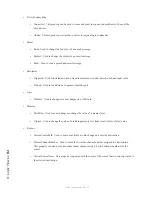
Essentially this flow will light the indicator light on the button only if both GPI 1 and 2 are low. This does not
look very useful, but if we were to change the endpoint to be a route destination, it becomes more interesting.
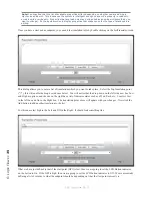
To do this, double click on the endpoint box and instead of a GPIO, expand the routers section and select the
CurrentSourcePath property of one of the router destinations.


