6: L
og
ic F
lo
w
s •
32
© 2017 Telos Alliance - Rev 1.2
First Flow
Understanding how these tools are to be used will be easier if we create a flow and start explaining the process. First,
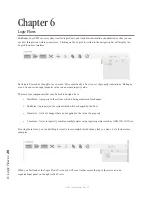
create a view and make sure that view is selected. To do this, click the Logic Flows check box in the Views panel
so that it is selected and its checkbox is checked, then click the plus button in the views control panel. The system
will ask for a name for the new view and will create that view underneath the Logic Flows view when you click ok.
At that point click the newly created view so that its checkbox is checked and click the root Logic Flows view to
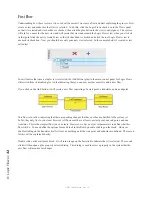
uncheck its checkbox. Now you should have only your new view selected. In the example below, I created a view
called test.
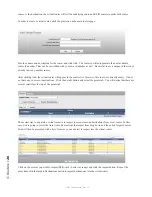
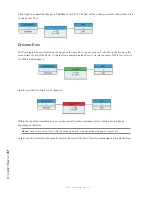
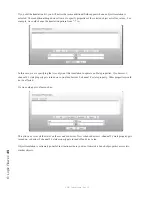
You will notice that once a single view is selected, the Add button (plus) in the main control panel for Logic Flows
will switch from its disabled grey to blue indicating that you can now use that control to add a new flow.
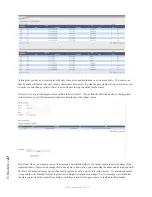
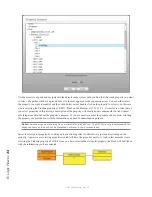
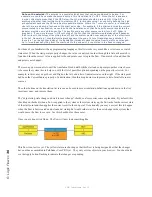
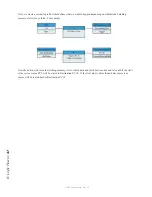
If you click on the Add button, it will create a new flow consisting of a start point, a translator, and an endpoint.
This flow is in yellow indicating that these are pending changes that have not been submitted to the system yet.
So far, they only live in your local browser. All flows must have at least one start point, one end point, and one
translator. This is the simplest flow you can create. However, we have not yet set parameters to define what this
flow will do. You can define the options for each block in this flow by double clicking on the block. However,
double clicking on the translator itself will not do anything until the start point and endpoint are defined. The reason
for this will be explained shortly.
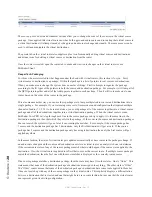
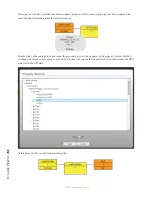
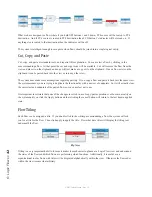
Double click on the start point block. It will turn orange on the first click to indicate that it is selected. The second
click will then open up the property selector dialog. This dialog is used to select a property in the system that the
new flow will monitor for changes.

