129
Proprietary Information: Not for use or disclosure except by written agreement with Calix.
© Calix. All Rights Reserved.
7.
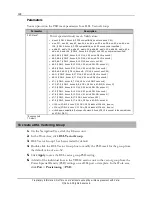
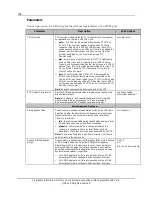
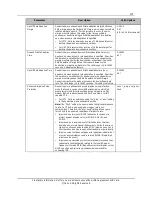
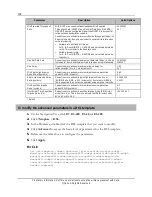
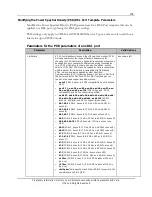
Scroll down to the bottom of the provisioning form, and then select the Vectoring
Group from the list. Since there is only one vectoring group per card or system, it is
always “1”.
On an E7-2, the syntax is “<card>/1”, for example “1/1” or “2/1”.
On an E3-48C, E5-48, and E5-48C the syntax is just “1”.
All VDSL2 ports in a card or VDSL2 unit work together as a vector group. Using
vectoring on some lines but not all causes un-vectored lines to interfere with vectored
lines.
Both single and bonded VDSL2 ports are supported.
8.
Click
Apply
. Vectoring is activated when the vectoring group is assigned to the port.
9.
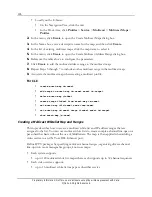
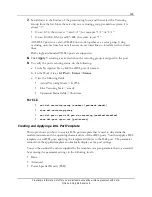
To verify the port vectoring status, do the following:
a.
In the Navigation Tree, click the xDSL port of interest.
b.
In the Work Area, click
Port
>
Status
>
Status
.
c.
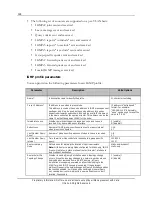
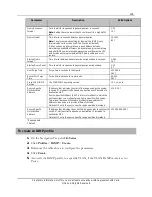
View the following fields:
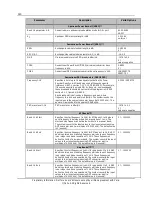
Actual Vectoring Mode = G.993.5
Line Vectoring State = steady
Operation Status fields = Showtime
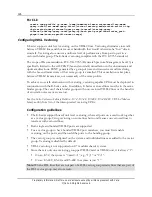
For CLI:
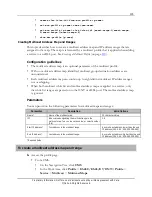
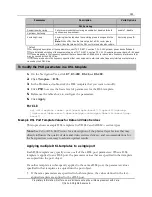
set dsl-vectoring-group <number> [psd-mask <mask>]
show dsl-vectoring-group
set dsl-port <port-id> psd ds-vectoring [enabled|disabled]
show dsl-port <port-id> [psd|status]
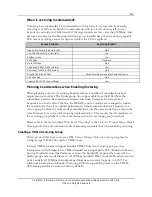
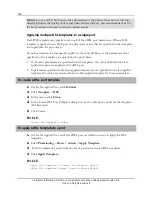
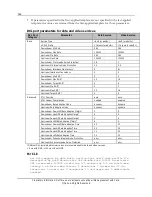
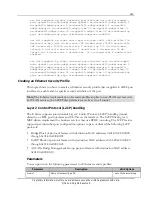
Creating and Applying a DSL Port Template
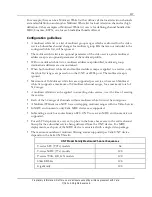
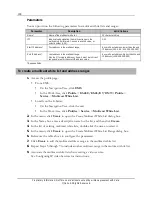
This topic shows you how to create a DSL port template that is used to determine the
modem train rate and the operating characteristics of the xDSL ports. You then apply a DSL
template to an xDSL port, applying the template attributes to the DSL port. The parameter
values from the applied template automatically display as the port settings.
You can then adjust the values supplied by the template on a per-parameter basis, as needed
by accessing the parameter settings in the following levels:
Basic
Advanced
Power Spectral Density (PSD)

