RP6 ROBOT SYSTEM - 3. Hardware and Software Setup
knowledged before the test will start.
Please enter the lowercase letter 'x' in the terminal window and hit Enter (you will
have to repeat this procedure whenever a similar message is displayed or a test has
to be aborted...).
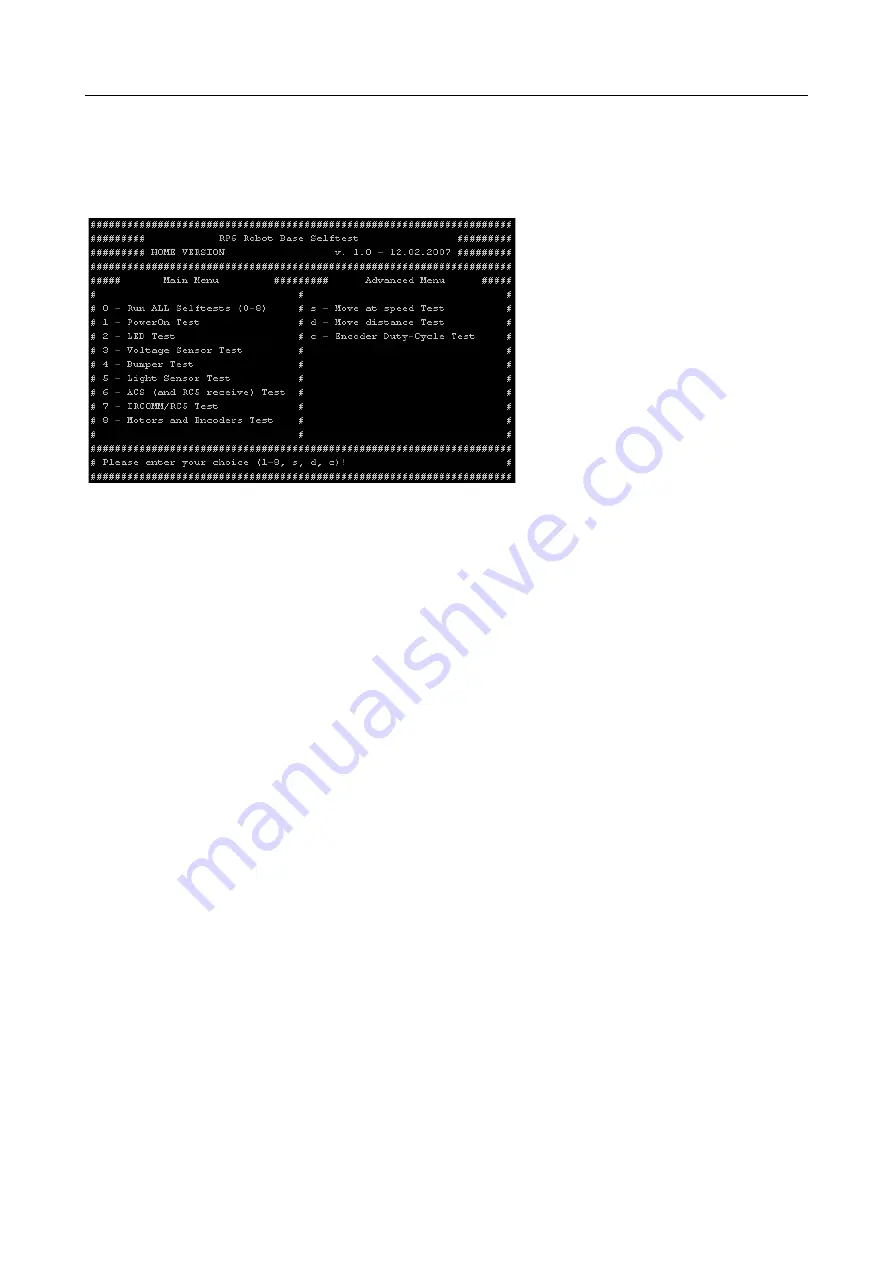
At this point the program will out-
put the menu text shown on the
left. The text may change a bit in
future releases!
You can select and start the dif-
ferent test programs by entering
the corresponding number or let-
ter and hit Enter.
We want to run all standard tests – so type '0' and hit Enter!
The following output text will appear in the terminal window:
# 0
#####################################################################
#####################################################################
## Test #1 ##
### POWER ON TEST ###
Please watch the yellow PowerOn LED and verify that it lights up!
(it will flash a few times!)
Watch the yellow PowerON LED, which will flash a few times! If it does not flash,
maybe the test was over before you looked at it or a real error occurred. The test pro-
gram however will proceed, as there is no automatic method to detect the correct
functionality of this – this is your job!
By the way the LED displays whether the encoders, the IR receiver and the current
sensors are activated. Together with the LED, these devices consume a respectable
amount of current - nearly 10mA --> to save power, we will only activate these
devices if required.
The program now flashes all Status LEDs. A few times all LEDs together and then each
of them alone. Here you can see if all LEDs are working correctly or if one of them is
damaged.
The output looks like this:
## Test #2 ##
### LED Test ###
Please watch the LEDs and verify that they all work!
Done!
Battery sensor test is next. In fact, the sensor already has been tested as the Ro-
- 47 -


