| Installation and Upgrades |
14
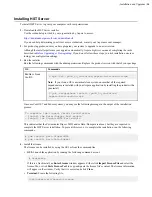
Installing HST Server
To install HST Server, log into your computer with root permissions.
1.
Download the HST Server installer.
Use the credentials provided to your organization by Aspera to access:
https://downloads.asperasoft.com/en/downloads/4
If you need help determining your firm's access credentials, contact your Aspera account manager.
2.
For product upgrades, ensure you have prepared your system to upgrade to a newer version.
Although the installer performs your upgrade automatically, Aspera
highly recommends
completing the tasks
described in
Before Upgrading or Downgrading
. If you do not follow these steps, you risk installation errors or
losing your configuration settings.
3.
Run the installer
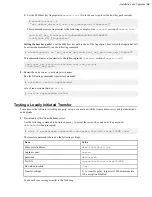
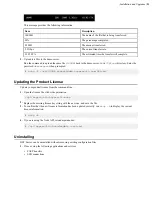
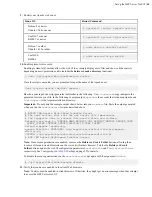
Run the following commands with the admin permissions. Replace the product version with that of your package.
OS
Commands
RedHat, zLinux,
CentOS
$ rpm -Uvh /
path_to_installer
/aspera-hsts-
version
.rpm
Note:
If your Linux OS is a minimal clean system, ensure that all the required
dependencies are installed with your Aspera application by installing the product with a
yum install:
$ yum --nogpgcheck install /
path_to_installer
/
aspera-hsts-
version
.rpm
On some CentOS 7 and Fedora systems, you may see the following message in the output of the installation
process:
To complete the Connect Server Installation:
- Install the Data::Dumper Perl module
- Install the Digest::MD5 Perl module
This indicates that the Perl modules Digest::MD5 and/or Data::Dumper are absent, but they are required to
complete the HST Server installation. To prevent this error, or to complete the installation, run the following
commands:
# yum install perl-Digest-MD5
# yum install perl-Data-Dumper
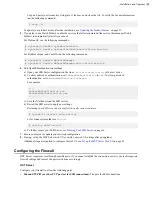
4.
Install the license.
The license can be installed by using the GUI or from the command line.
•
GUI:
Launch the application by running the following command as root:
# asperascp
If this is a fresh install, an
Enter License
window appears. Either click
Import License File
and select the
license file, or click
Paste License Text
to copy-and-paste the license file's content. The license information
will appear in the window. Verify that it is correct and click
Close
.
•
Terminal:
Create the following file:
/opt/aspera/etc/aspera-license


