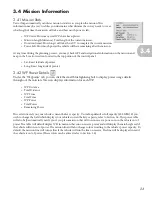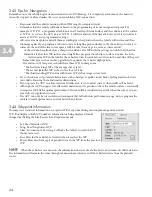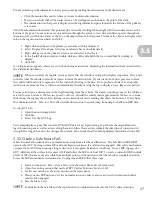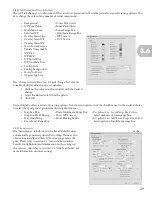
16
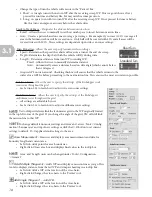
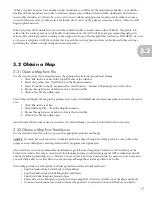
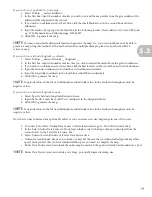
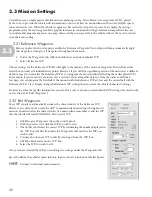
• Change the type of turn the vehicle will execute in the “Pattern” box.
1. ‘Short’- A triangle turn with one turn WP after the receiving sweep WP. This is a good choice if very
pressed for run time and battery life, but may sacrifice some precision.
2. ‘Long’- A square turn with two turn WPs after the receiving sweep WP. If not pressed for time or battery
life, this turn can improve accuracy before the vehicle dives.
‘
Track to Track Space –
Designates the distance between mission lines.
• ‘Fixed’ - Allows the user to manually insert how much space to insert between mission lines.
• ‘Auto’ - Creates a pattern based on sonar coverage percentage. For example, if you insert 100% coverage, all
area in the lawnmower box will be covered once. Only half will be covered with 50% and all areas will be
covered twice with 200%. These settings are dependent upon side-scan sonar settings.
Turn Properties -
Allows the user to specify lawnmower turn settings.
• ‘Speed’–Determines the speed the vehicle will execute a turn at the end of a sweep.
• ‘Depth’–Determines the depth at which the vehicle will fly during turns.
• ‘Length’ - Determines distance from turn WP to sending WP.
‘Fixed’ - Allows the user to manually determine distance.
‘Auto’ - Automatically enters a distance based on dive angle (which cannot be less
than 10 degrees).
• ‘Acquire GPS on turn around’- Checking this box will ensure that the vehicle returns to the
surface for a GPS fix before proceeding to the next mission line. This ensures the most accurate run possible.
Side Scan Sonar -
Allows the user to specify the settings of the EcoMapper’s side-
scan sonar throughout the grid.
• See Section 3.34 to learn how to adjust side-scan sonar settings.
Multi Beam Sonar -
Allows the user to specify the settings of the EcoMapper’s
multibeam sonar throughout the grid.
• All settings are adjustable by user.
• See Section 3.35 to learn how to adjust multibeam sonar settings.
VectorMap will always link the lawnmower grid to the WP originally located
in the top left corner of the grid. If you change the angle of the grid, VM will still link
the mission line to that WP.
To change default lawnmower settings and ‘Area’ and access ‘Tools’>‘Config
uration’>‘Lawnmower’ and input new settings or click the C>D button to set current
settings to default. D>C applies default settings to the area.
‘Area Measurement’
– Measures and displays area measurements and data for
boundary length and current area.
• Left-click–Adds points for area boundaries.
• Right-click–Closes area box and displays final values in the tooltip box.
‘Area’ and ‘Length’ units can be changed under ‘Tools’>‘Configuration…
’>‘General.’
‘Add Multiple Waypoints’
– Adds WPs and displays a mission line as you go. This
tool also displays distance from the last WP and compass heading in a tooltip box.
• Left-click–Adds a WP at the location of the cross-hairs.
• Right-click–Changes the cross-hairs to the ‘Pointer’ tool.
Add Single Waypoint’
– Adds WPs.
• Left-click–Adds a WP at the location of the cross-hairs.
• Right-click–Changes the cross-hairs to the ‘Pointer’ tool.
NOTE
NOTE
NOTE
3.1
Short Turn
Standard Turn


