AWS Storage Gateway User Guide
Deleting a File Share
If you want your data to be completely uploaded, use the
To delete a file share
procedure directly
following. If you don't want to wait for your data to be completely uploaded, see the
To forcibly delete a
file share
procedure later in this topic.
To delete a file share
1. Open the AWS Storage Gateway console at
https://console.amazonaws.cn/storagegateway/home
.
2. Choose
File shares
, and choose the file share that you want to delete.
3. For
Actions
, choose
Delete file share
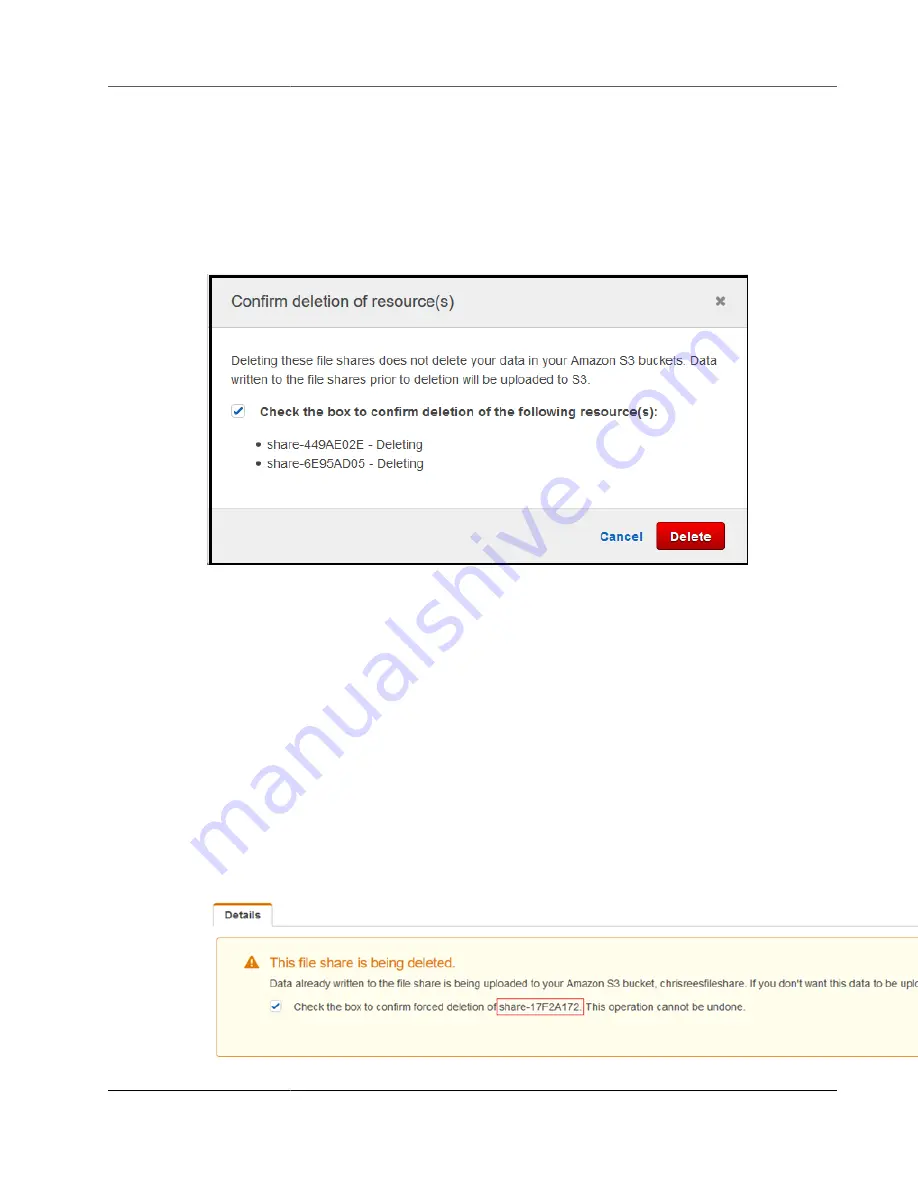
. The following confirmation dialog box appears.
4. In the confirmation dialog box, select the check box for the file share or shares that you want to
delete, and then choose
Delete
.
In certain cases, you might not want to wait until all the data written to files on the Network File System
(NFS) file share is uploaded before deleting the file share. For example, you might want to intentionally
discard data that was written but has not yet been uploaded. In another example, the Amazon S3
bucket or objects that back the file share might have already been deleted, meaning that uploading the
specified data is no longer possible.
In these cases, you can forcibly delete the file share by using the AWS Management Console or the
DeleteFileShare
API operation. This operation aborts the data upload process. When it does, the
file share enters the FORCE_DELETING status. To forcibly delete a file share from the console, see the
procedure following.
To forcibly delete a file share
1. Open the AWS Storage Gateway console at
https://console.amazonaws.cn/storagegateway/home
.
2. Choose
File shares
, and choose the file share that you want to forcibly delete and wait for a few
seconds. A delete message is displayed in the
Details
tab.
API Version 2013-06-30
147


