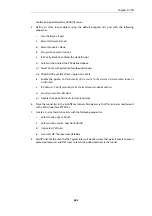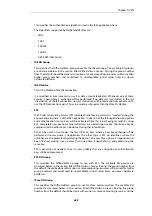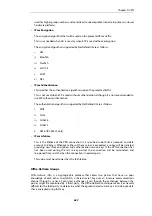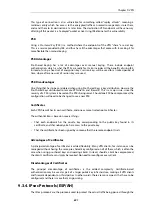
Then, apply the algorithm proposal list to the IPsec tunnel:
1.
Go to: Network > Interfaces and VPN > IPsec
2.
Select the target IPsec tunnel
3.
Select the recently created esp-l2tptunnel in the IPsec Algorithms control
4.
Click OK
9.3.7. Pre-shared Keys
Pre-Shared Keys are used to authenticate VPN tunnels. The keys are secrets that are shared by
the communicating parties before communication takes place. To communicate, both parties
prove that they know the secret. The security of a shared secret depends on how "good" a
passphrase is. Passphrases that are common words are extremely vulnerable to dictionary
attacks.
Pre-shared Keys can be generated automatically through the Web Interface but they can also be
generated through the CLI using the command
pskgen
(this command is fully documented in the
CLI Reference Guide
).
Beware of Non-ASCII Characters in a PSK on Different Platforms!
If a PSK is specified as a passphrase and not a hexadecimal value, the different encodings on
different platforms can cause a problem with non-ASCII characters. Windows, for example,
encodes pre-shared keys containing non ASCII characters in UTF-16 while NetDefendOS uses
UTF-8. Even though they can seem the same at either end of the tunnel there will be a mismatch
and this can sometimes cause problems when setting up a Windows L2TP client that connects to
NetDefendOS.
Example 9.2. Using a Pre-Shared key
This example shows how to create a Pre-shared Key and apply it to a VPN tunnel. Since regular
words and phrases are vulnerable to dictionary attacks, they should not be used as secrets. Here
the pre-shared key is a randomly generated hexadecimal key. Note that this example does not
illustrate how to add the specific IPsec tunnel object.
Command-Line Interface
First create a Pre-shared Key. To generate the key automatically with a 64 bit (the default) key,
use:
gw-world:/> pskgen MyPSK
To have a longer, more secure 512 bit key the command would be:
gw-world:/> pskgen MyPSK -size=512
Or alternatively, to add the Pre-shared Key manually, use:
gw-world:/> add PSK MyPSK Type=HEX PSKHex=<enter the key here>
Now apply the Pre-shared Key to the IPsec tunnel:
Chapter 9: VPN
696
Summary of Contents for NetDefendOS
Page 30: ...Figure 1 3 Packet Flow Schematic Part III Chapter 1 NetDefendOS Overview 30 ...
Page 32: ...Chapter 1 NetDefendOS Overview 32 ...
Page 144: ...Chapter 2 Management and Maintenance 144 ...
Page 284: ...Chapter 3 Fundamentals 284 ...
Page 392: ...Chapter 4 Routing 392 ...
Page 419: ... Host 2001 DB8 1 MAC 00 90 12 13 14 15 5 Click OK Chapter 5 DHCP Services 419 ...
Page 420: ...Chapter 5 DHCP Services 420 ...
Page 573: ...Chapter 6 Security Mechanisms 573 ...
Page 607: ...Chapter 7 Address Translation 607 ...
Page 666: ...Chapter 8 User Authentication 666 ...
Page 775: ...Chapter 9 VPN 775 ...
Page 819: ...Chapter 10 Traffic Management 819 ...
Page 842: ...Chapter 11 High Availability 842 ...
Page 866: ...Default Enabled Chapter 13 Advanced Settings 866 ...
Page 879: ...Chapter 13 Advanced Settings 879 ...

