13 F
ILTER
F
UNCTIONS
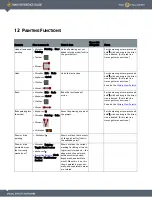
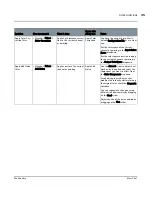
Function
How to access it
What it does
Opens this
dialog box
Notes
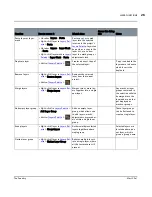
Apply Invert filter •
Menubar
| Filters >
Invert
Inverts the colors in the
selection’s alpha channel.
Replaces colors with their
“opposite” in the color chart.
For example, replaces a
color with a float value of
0.3 with a color with float
value 0.7.
Apply Invert
Apply Luminosity
filter
•
Menubar
| Filters >
Luminosity
Outputs just the luminosity
value of each pixel in the
selection. That is, it outputs
a grayscale image based on
the brightness of every pixel
in the original image.
Apply
Luminosity
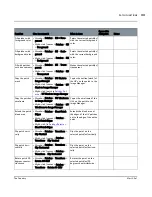
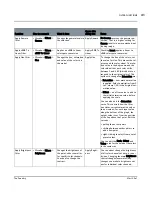
Apply In Blur
filter
•
Menubar
| Filters >
Blur > Blur
Applies a standard blur to
the selection.
Apply Blur
You can select the blur radius — the
number of pixels Mari uses when cal-
culating the blur value for each pixel.
The higher the radius, the more
blurred the results. If you use a larger
blur radius, you may get slight lines
on the boundaries between patches.
This is an artifact of the way that
Mari handles patch edges.
This filter is not supported with Ptex
channels.
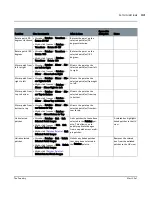
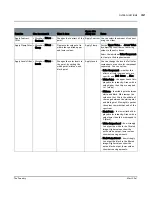
Apply Soften Blur
filter
•
Menubar
| Filters >
Blur > Soften
Applies a subtle softening
blur. This is a quick, pre-
defined blur filter. If you
need more control over the
degree or type of blurring,
use either the standard Blur
or Gaussian Blur filters.
Apply Soften
This filter is not supported with Ptex
channels.
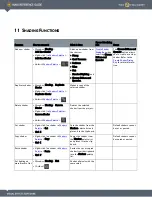
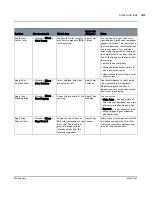
Apply Gaussian
Blur filter
•
Menubar
| Filters >
Blur > Gaussian
Applies a Gaussian blur.
Compared to the standard
Blur filter, this gives you
much finer control over the
degree of blurring, and the
option of using much higher
blur values.
Apply
Gaussian
You can select the blur radius. The
higher the radius, the more blurred
the results. If you use a higher blur
radius, you may see artifacts along
the boundaries of geometry shells and
UV patches.
This filter is not supported with Ptex
channels.

